Regular emptying, preventive disinfection, and completely draining the water system before winter are the three measures that make the difference between worry-free travel and health or technical problems. Water in a campervan should never be taken for granted — it requires attention in both summer and winter.
Quick overview of the essential measures:
- Empty the fresh water tank and refill it with fresh water at least once a month.
- Disinfect the water system every 3–6 months (or before each season).
- Before winter, completely drain all pipes, the water heater, and the tanks.
- Always use a food-grade hose for filling and check that the connection is marked as potable water.
- Empty grey water and black water exclusively at designated disposal points.
Health warning: Stagnant water in a tank that warms up to 21–25 °C provides ideal conditions for Legionella. The bacteria are transmitted by inhaling aerosols (showers, taps) and can cause severe pneumonia. Disinfection is not optional.
Key Takeaways
Proper water system management in a campervan requires regular disinfection, seasonal preparation, and the right equipment — without these measures, both your health and the technical condition of your vehicle can be put at risk.
| Key point |
Details |
| Winter preparation |
Drain all pipes, the Truma water heater, and all tanks before the first frost. |
| Disinfection |
Disinfect every 3–6 months using PortaPure or chlorine dioxide; check the concentration with test strips. |
| Filling the tank |
Always use a food-grade hose and pressure regulator, and check that the water connection is marked as potable. |
| Waste water |
Empty grey water and black water exclusively at designated motorhome service areas or campsites — never into nature. |
| Legionella in summer |
At 21–25 °C, Legionella can multiply rapidly; empty and disinfect the tank frequently. |
Table of Contents
How to Winterize Your Campervan Water System
Frost is the biggest enemy of water pipes in a campervan. Water left in the system at temperatures below 0 °C expands and can crack a pipe or water heater — repairs can be expensive, while prevention is simple.
Step by step:
- Empty the fresh water tank. Open the drain valve at the bottom of the tank and let the water drain out. If there is no drain valve, use a manual or electric pump.
- Drain the water heater. For Truma water heaters (Trumatic, Combi), follow the manufacturer’s instructions: switch off the heater, allow it to cool down, then open the drain screw or valve at the bottom of the unit. Truma explicitly warns against draining the water heater while it is hot, as this can cause burns and damage to the unit.
- Drain the pipes. Open all taps (both hot and cold) and allow air to displace any remaining water. Turn on the water pump for 10–15 seconds to push out the last drops.
- Empty the shower and toilet cassette. Squeeze and shake the shower hose; empty the toilet cassette at a designated disposal point.
- Switch off the water pump and close all valves. An electric pump running without water can overheat and fail.
- Check that all connections are dry. Damp connections and seals can crack during winter.
Important when storing a campervan in Slovenia: Interior temperatures in a campervan parked outdoors in January can easily fall below –10 °C. Even one litre of residual water in the heating system can be enough to cause damage. Store the vehicle in a heated area or make sure that the entire water system is completely dry.
Expert tip: Before winter storage, add a small amount of dedicated potable-water antifreeze to the tank (never automotive antifreeze!), blow it through all taps, and then drain the system. This helps protect against residual moisture left in the pipes.
How to Safely Disinfect the Water Tank and Drinking Water
Disinfecting your fresh water tank is not a one-time task — it should be part of your regular maintenance routine.
PortaPure Fresh Water eliminates Legionella and biofilm and is specifically designed for water tanks in campervans and recreational vehicles.
Recommended products and procedure:
- Chlorine dioxide or dedicated water treatment products (e.g. PortaPure Fresh Water): these work against biofilm, which ordinary chlorine does not completely eliminate. Biofilm is a layer of bacteria that attaches to the walls of the water tank and pipes.
- Dosage: follow the instructions on the packaging. A higher concentration does not mean better disinfection — it simply means you will need to rinse the system for longer.
- Contact time: leave the solution in the system for at least as long as specified by the manufacturer (often 1–12 hours). During this time, open all taps so the solution reaches the entire water system.
- Checking with test strips: Portastrip test strips show whether the disinfectant concentration is sufficient. Without this step, you cannot be certain that the disinfection has been successful.
- Rinsing: after disinfection, rinse the system several times with fresh water until the smell of chlorine dioxide has completely disappeared.
Safety precautions when handling chemicals:
- Work outdoors or in a well-ventilated area.
- Never mix chemicals with each other.
- Store chemicals separately from food and out of the reach of children.
- Always check treated water with a test strip before drinking it.
Expert tip: When tank disinfection is not practical (for example, while travelling), combine an activated carbon pre-filter with a UV sterilizer as a temporary drinking water solution. This is not a substitute for disinfecting the water tank, but it is better than having no additional treatment at all.
How to Properly Fill Your Campervan Water Tank at a Campsite
Fresh water tanks in campervans typically range from
20 to 150 litres, depending on the vehicle class. For two people using water economically, 8–15 litres per day may be sufficient, meaning that a smaller campervan may need to be refilled every day or two.
Equipment you should always carry with you:
- Food-grade hose (marked as “food grade”, usually blue or white) — never use an ordinary garden hose.
- Adapters for different types of taps (European campsites do not use a single standard).
- Pressure regulator: high pressure in public water systems (often above 4 bar) can damage pipes and connections in your campervan.
- Activated carbon pre-filter for filling from less reliable water sources.
- A small container or syringe for testing the water before filling the tank.
Experts recommend carrying your own hose and watering can because campsite water connections are not standardized — this is one of the most common logistical mistakes made by beginners.
At
public water connections, there are often separate taps for drinking water and non-potable water. If the marking is unclear, ask the campsite staff or use your own filtration system. Never assume that water is safe to drink simply because it comes from a tap at a campsite.
 Expert tip: Install the pressure regulator at the beginning of the hose, not at the campervan. This protects both the hose and the vehicle’s water connection.
Where and How to Empty Grey and Black Water in Slovenia
Grey water and black water may only be emptied at designated disposal facilities: motorhome service areas (PZA), campsites with service points, or dedicated motorhome service stations. Discharging waste water into nature, by the roadside, or into a sewer without permission is illegal in Slovenia and harmful to the environment.
How to empty a toilet cassette:
- Remove the cassette from the vehicle and carefully carry it to the designated disposal point.
- Open the waste outlet cap and slowly empty the contents to avoid splashing.
- Rinse the cassette with water at the disposal point (most PZA facilities have a dedicated rinsing connection).
- Add fresh toilet chemical before returning the cassette to the vehicle.
For grey water (waste water from the sink and shower), open the tank’s drain valve at the designated disposal point. Before opening the valve, make sure that the drain hose is correctly connected to the outlet.
Environmental and legal warning: Discharging grey water into nature or by the roadside is contrary to Slovenia’s environmental protection legislation and regulations governing wastewater discharge. Fines for individuals can be significant, and improper disposal also causes lasting damage to ecosystems.
Expert tip: Before leaving a campsite or PZA, always check that all waste water valves are closed. An open grey water valve while driving is a common and unpleasant mistake.
For a list of motorhome service areas in Slovenia with fresh water and waste water facilities, see our guide to
motorhome service areas in Slovenia.
How to Prevent Limescale, Biofilm, and Legionella
There are three key risks: stagnant water, high temperatures, and a lack of regular maintenance. Each of them can be controlled with a consistent maintenance routine.
| Water temperature |
Risk |
Recommended action |
| Below 20 °C |
Low risk of Legionella |
Regularly empty and refill |
| 21–25 °C |
High risk of Legionella |
Frequent emptying and disinfection |
| High temperature |
Legionella is destroyed |
Thermal disinfection using the water heater |
| Hard water |
Limescale in water heaters and pipes |
Use a limescale remover (e.g. Lime Clear) |
In summer, when a campervan is parked in the sun, the temperature inside the water tank can quickly rise to 21–25 °C — exactly the range in which Legionella can multiply rapidly. Recommended maintenance intervals are: empty and refill the tank with fresh water monthly and disinfect the system every 3–6 months.
Practical prevention measures:
- Never leave the water tank partially full for extended periods — either fill it completely or empty it completely.
- Replace filters (pre-filters and activated carbon filters) according to the manufacturer’s instructions, not simply “when you remember”.
- Before storing the vehicle for an extended period (e.g. winter or a long absence), disinfect and drain the water system.
- To remove limescale from the water heater and pipes, use a dedicated product such as PortaPure Lime Clear, which is available in Slovenia and Croatia.
Health risk: Poorly maintained drinking water in a campervan is not merely unpleasant — it can potentially be dangerous. Legionellosis can require hospital treatment. Disinfection using suitable products and test strips is the only reliable way to verify that the water is safe.
Essential Water Equipment to Always Carry in Your Campervan
A well-equipped campervan can solve most water-related problems on the road without improvisation.
- Food-grade hose (at least 5 m): essential for filling the tank; an ordinary garden hose is not suitable.
- Tap adapters (a set with different thread types): campsites throughout Europe and Slovenia use different standards.
- Pressure regulator: protects pipes and connections from high water pressure.
- Pre-filter with filter cartridge (mechanical filtration): catches impurities before they enter the water tank.
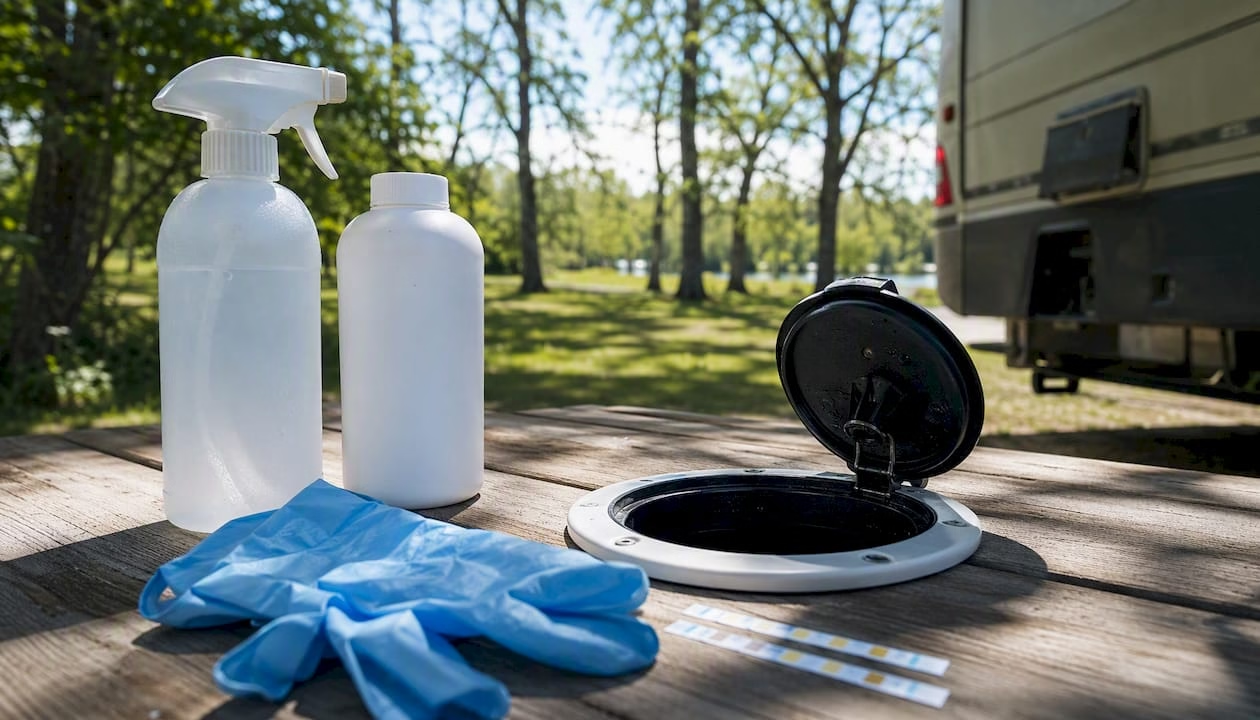
- Disinfection test strips (Portastrip or equivalent): the only way to verify whether the disinfection has been successful.
- PortaPure Fresh Water or an equivalent disinfectant: for regular water tank disinfection.
- Spare seals and a connection wrench: fix minor leaks yourself without waiting for a service technician.
- Microfiber cloths and gloves: for cleaning after emptying the toilet cassette.
- Small container or bucket (5–10 L): useful when a water connection is unavailable or inaccessible.
Camping equipment, including recommendations for hoses and filters, can be found in our
campervan equipment guide.
The Most Common Campervan Water Management Mistakes — Campervan Experience
Campervan renters most often underestimate the logistics of managing water. They forget to bring their own hose, assume that water at a campsite is always safe to drink, or leave the water tank partially full while the vehicle is parked for a week.
From our experience: The biggest mistake we see among first-time renters is that they only think about the water system once a problem occurs — when the water runs out, starts to smell, or freezes in winter. Ten minutes of preparation before departure can prevent 90% of these situations.
Expert tip: On the first day of your rental, check that the fresh water tank is clean and filled, and note where the nearest waste water service point is along your route. When you collect your campervan, Campervan will explain the entire water system — use this time to ask questions.
For planning a trip with access to fresh water filling and waste water disposal points, see
Bled by campervan as an example of good practice for a Slovenian destination.
Why a Well-Maintained Water System Makes a Difference When Travelling
A campervan where the water system works without surprises is a completely different experience from one where you constantly have to wonder whether the water is safe to drink or where you can empty the toilet cassette. Safety, comfort, and less stress — these are the practical results of good preparation, not abstract ideals.
Campervan rental companies that handle hundreds of rentals every year know this well: travellers who take the time to learn about the water system before departure return satisfied. Those who skip it are more likely to call in the middle of their trip.
Sources
This article provides general information and is not a substitute for professional medical advice. Consult a qualified healthcare professional regarding your individual circumstances before acting on any information provided here.
Recommended Reading